


Custom Wallcovering Made Easy with Newmor
Follow our Easy Step-By-Step Guide to Bespoke Digital Wallcovering
Newmor Custom – How does it work?
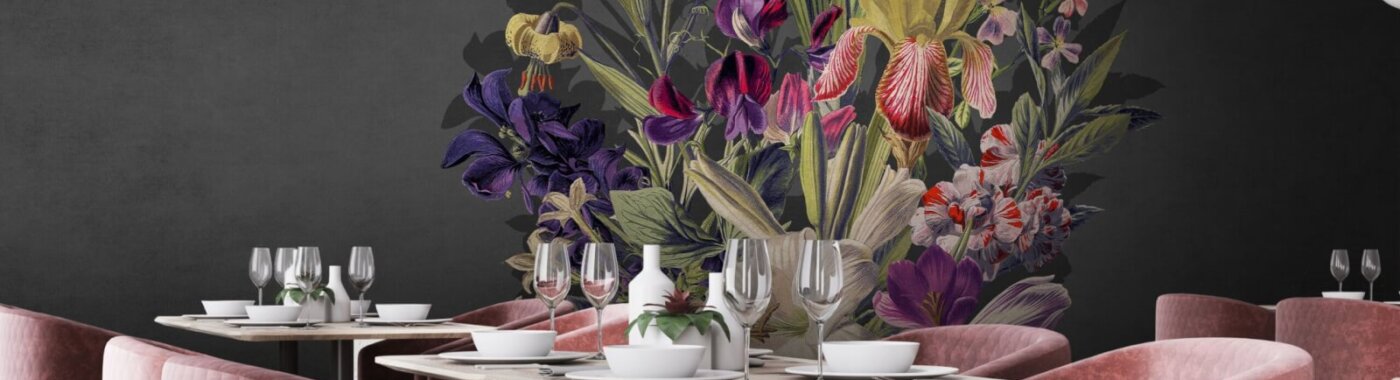
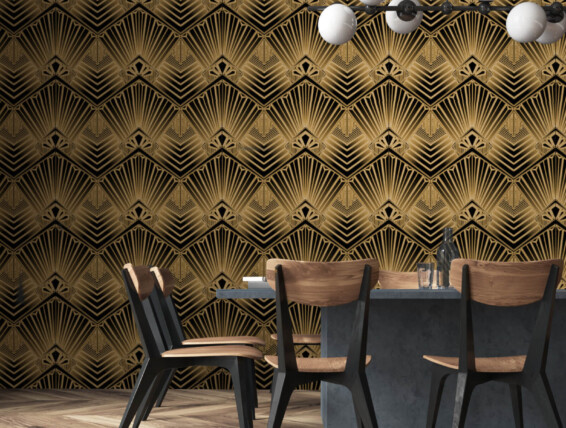
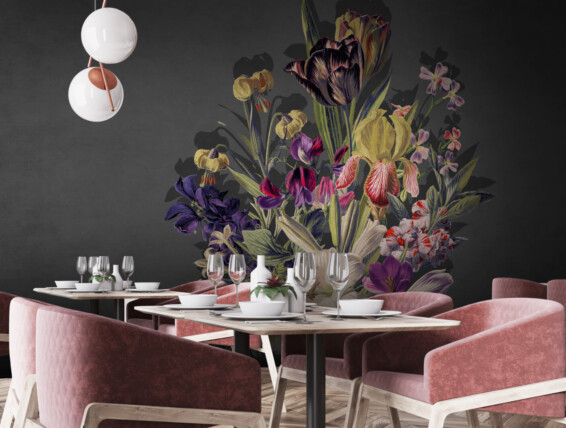
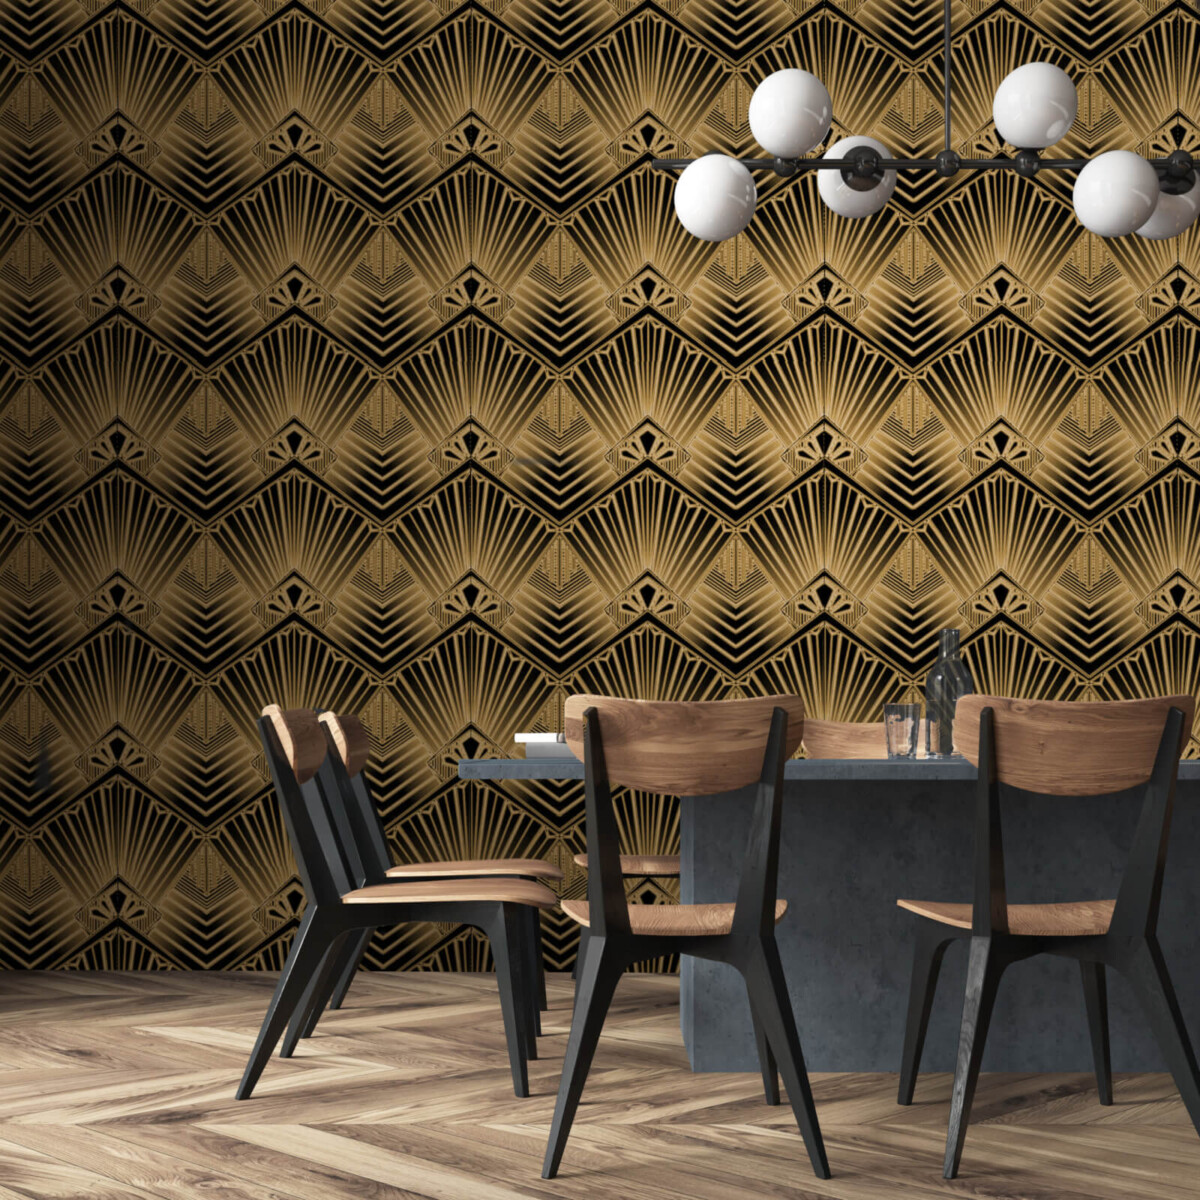
Step 1: Choose Your Imagery
The journey to your custom digital wallcovering starts with an idea. You have the freedom to explore various options when selecting the imagery for your custom wallcovering through Newmor Custom:
- Browse our Stocked Newmor Custom Designs: We have a catalogue of pre-designed Newmor custom designs that you can choose from. These designs are beautifully crafted and readily available for your selection.
- Use Your Own Image: If you have a specific image that aligns with your project, you can easily incorporate it into your wallcovering. Simply provide us with your image, and our team will transform it into a wallcovering design.
- Collaborate with Our Design Team: For a truly unique and personalised wallcovering, collaborate with our experienced design team. Together, we can bring your ideas to life and create something entirely new and tailored to your project based on your brief.
- The imagery options are endless. our experts are here to help – whether you choose photography, a sketch or illustration, or something text based or graphic.
To ensure a seamless process, at this stage you will need to provide our team with the accurate dimensions of the walls where your custom design will be installed. This information allows us to create a wallcovering that perfectly fits your space, ensuring a precise and tailored result.
We have also created an Imagery Guide that provides information on image requirements if you are submitting your own images for use. This guide covers essential details such as file formats, colour profiles, proportions, and bleed. Download your copy of the Imagery Guide here.
Step 2: Approve Your Wall Plans
After your design has been set in motion, our dedicated design team will create wall plans based on the dimensions you provided. These plans offer a visual representation of how your design will look in scale, allowing you to envision the final result.
During this stage, you have the opportunity to review and make any desired amendments to your design. Whether you want to adjust colours, scale, patterns, or any other elements, we are here to ensure your idea is brought to life exactly as you envision it.
We encourage you to take the time to carefully assess your design and wall plans. Once you are happy, you can give your approval. This confirms that you are ready to proceed to the next step.
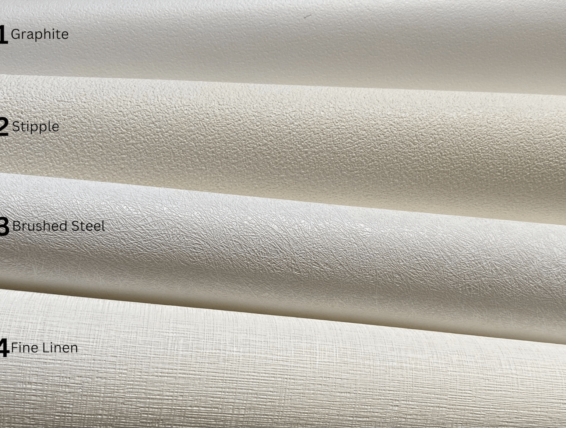
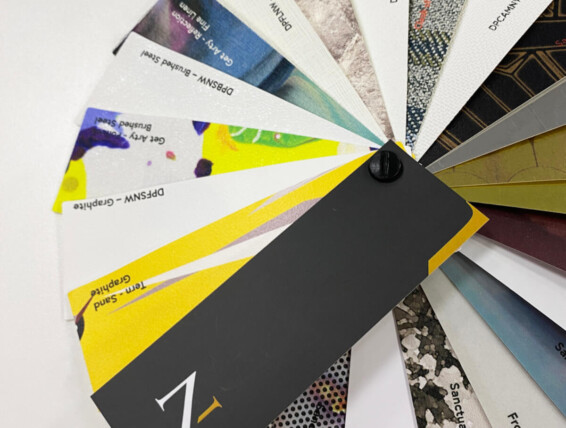
Step 3`: Select a Base
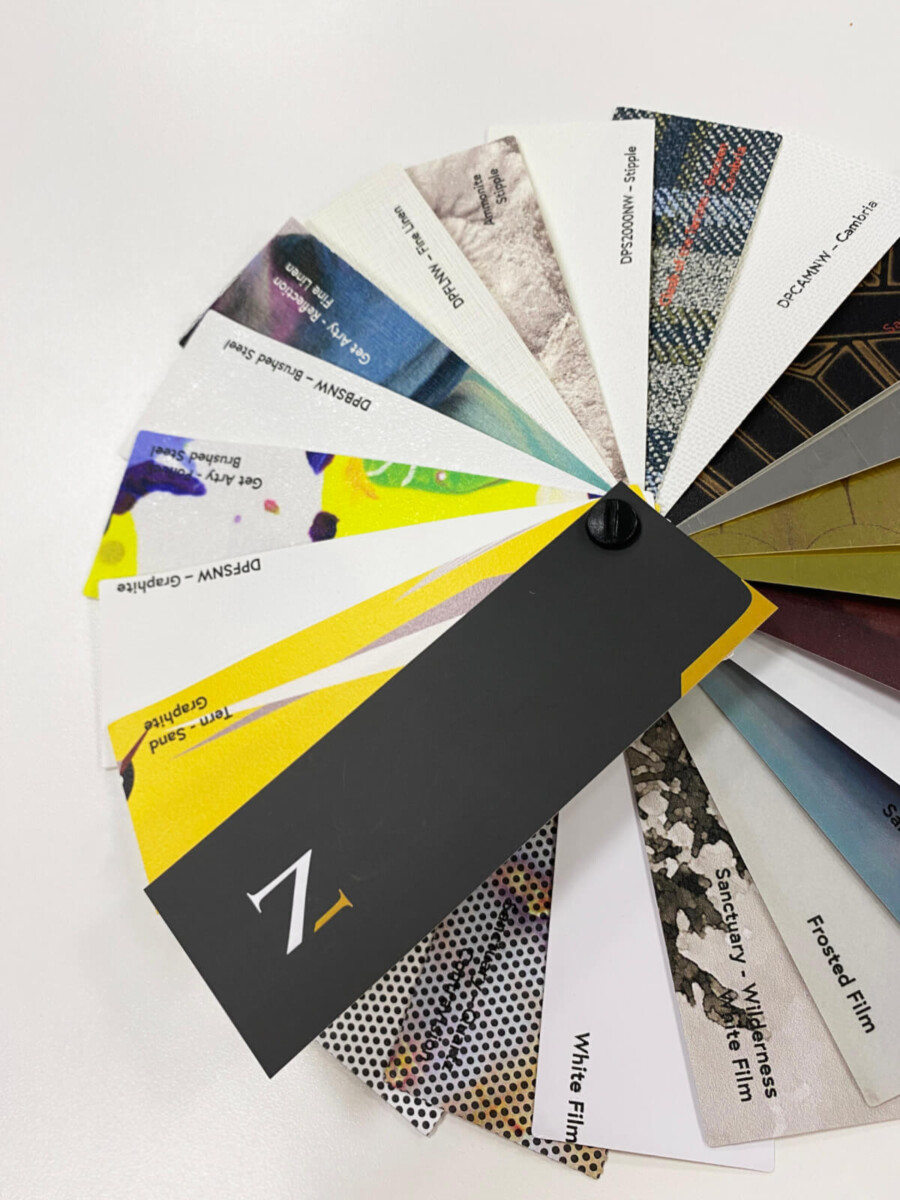
Having selected your desired imagery, it’s time to find the perfect wallcovering base for your Newmor Custom wallcovering.
With Newmor, you have an extensive range of structured bases to choose from. Our experts will advise on which base best suits your design, or you can choose your own – whether you prefer the woven structure of fine linen, the metallic finish of brushed steel, or the lightly textured feel of graphite, our surfaces offer a diverse array of choices that suit every space.
Additionally, we offer the option to print onto a reflective Mylar base, perfect for achieving stunning metallic finishes. For applications such as windows, doors, and glass partitions, we also provide the option to print any design onto clear window film.
Each of our bases enhance the visual impact of your design in different ways. When selecting your base, we encourage you to request samples of our digital bases from your dedicated Newmor Sales contact. This way, you can experience first-hand how your chosen surface will complement your imagery.
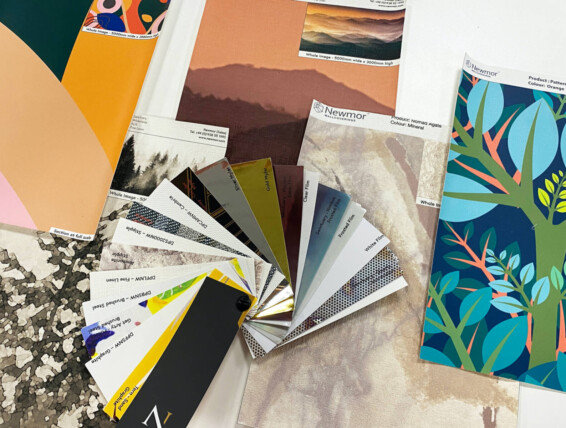
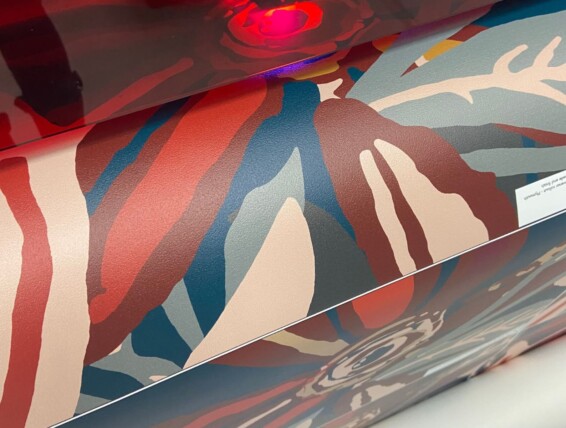
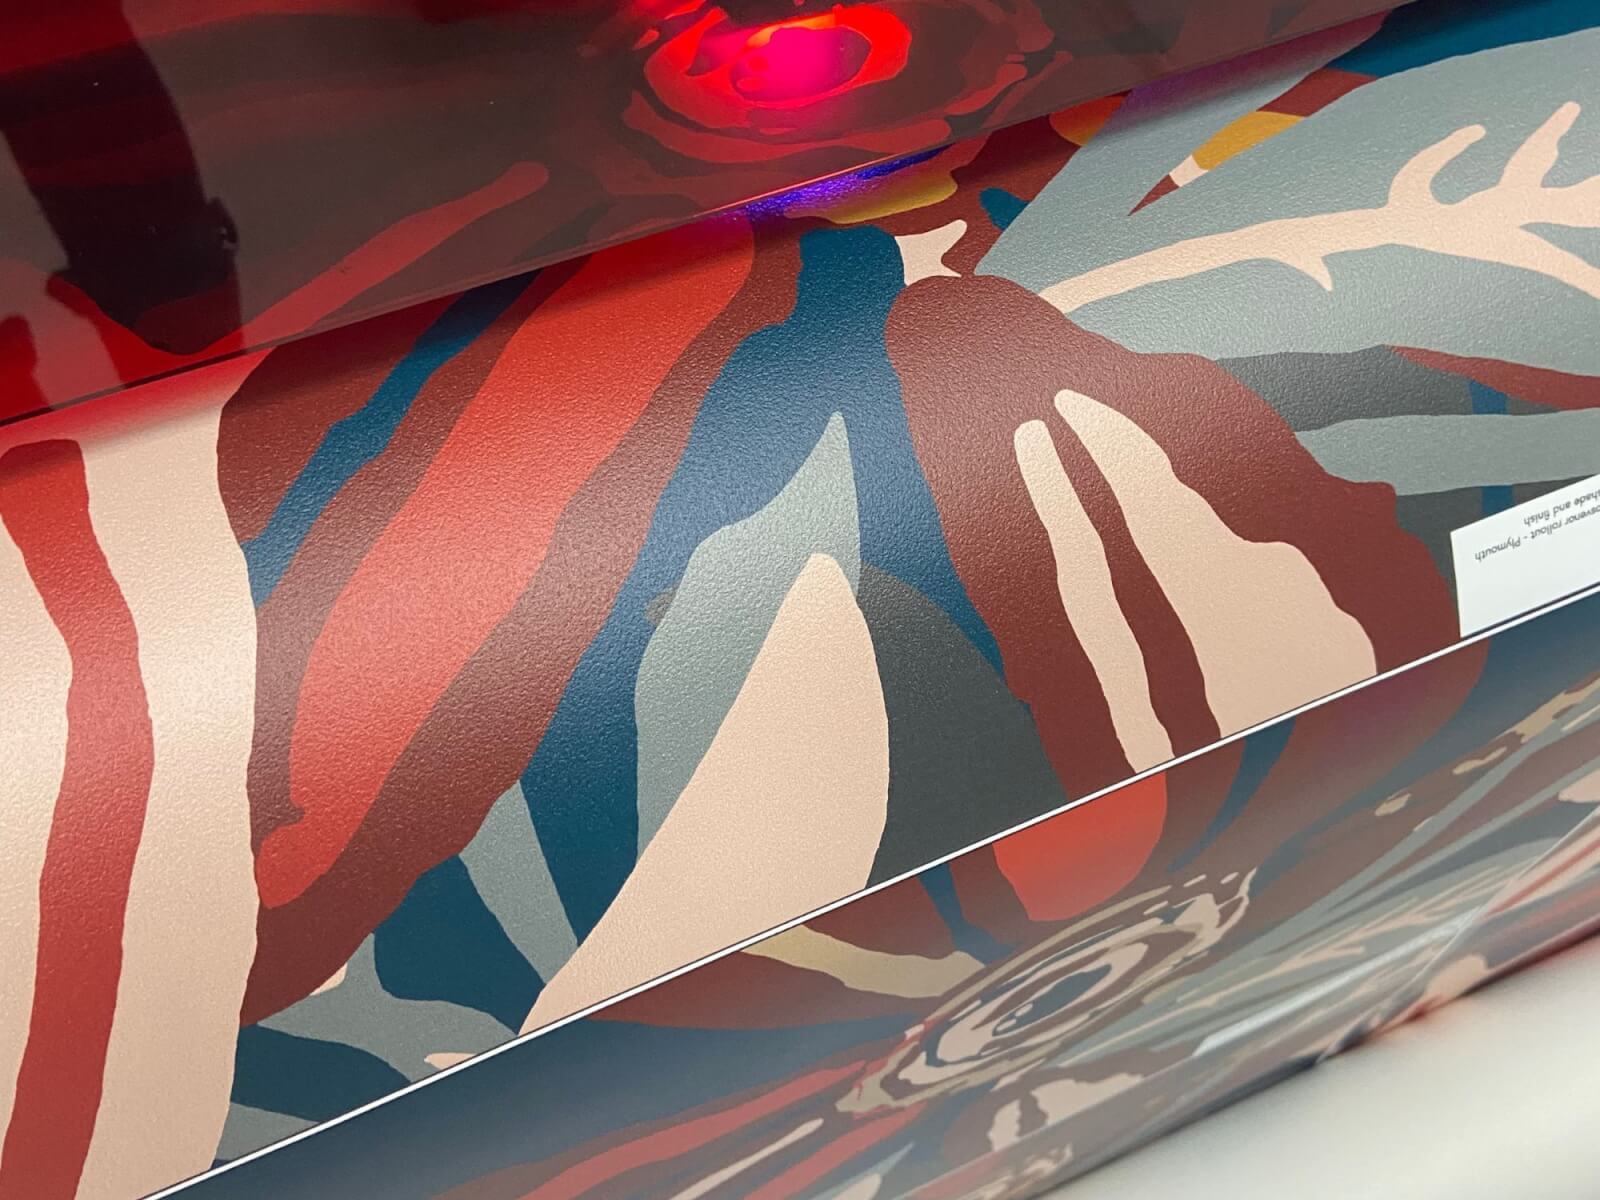
Step 4: Request and Review Your Samples
With your chosen base and approved design, at this stage we offer you the option to request samples of your design on the selected base. This allows you to review how your wallcovering’s colours and finish will appear on the final product. It’s a chance to make any final adjustments or tweaks to your design before it goes into production.
By receiving these samples, you can see first-hand how your vision translates into reality. Take the time to evaluate them and ensure that the design and finish aligns with your desired outcome.
Once you are satisfied with the samples, we can proceed to production, bringing your custom wallcovering to life
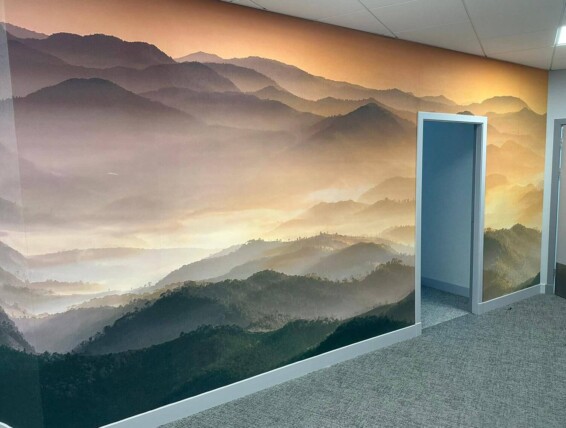
Step 5: Production
Newmor’s unparalleled combination of state-of-the-art UK production facilities, cutting-edge printing technology, and a team of skilled wallcovering experts guarantees a high-quality product delivered in an impressively fast turnaround time. Your custom wallcovering will be printed, quality checked, and shipped to site. With Newmor, you can expect a seamless process that prioritises both quality and efficiency.
Now that you’ve discovered the key steps to bringing your vision to life with Newmor Custom, it’s time to unleash your creativity and embark on creating your own personalised wallcovering for your project. Let your imagination soar!
Take a look at our Newmor Custom and Newmor Designer collections.

Create your own wallcovering
If you’re looking for something totally different – try going bespoke. It’s a simple, quick and cost effective way of totally transforming any space.
Simply upload your artwork using the form to the right and we will get in touch to discuss your design.
If you would prefer to discuss requirements, please call: 01938 552 671 Lines: 9am-5pm, Mon-Fri
Need any help finding the perfect Wallcovering for your project? Maybe you need something bespoke?
Call us on: 01938 552 671
to talk to one of our wallcovering experts
Request Callback